
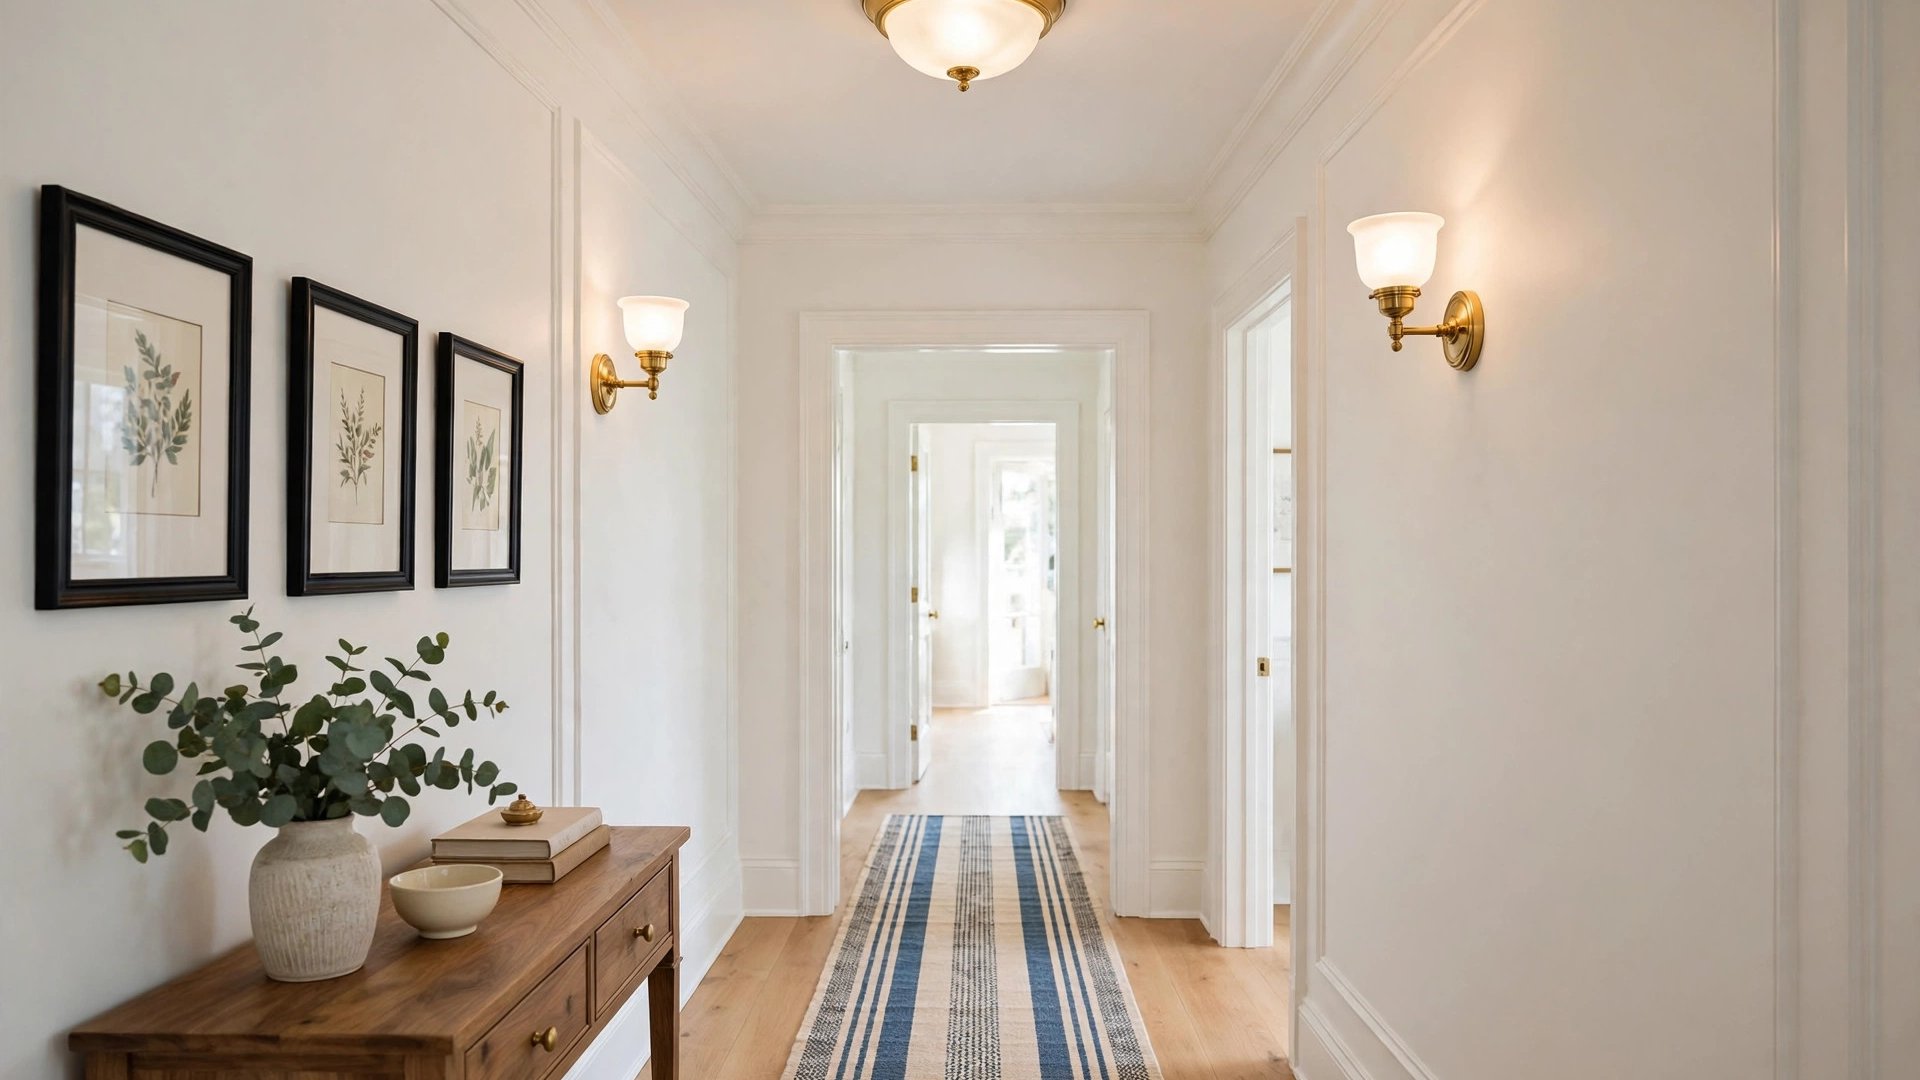

Most hallways get whatever light fixture was cheapest at the builder’s warehouse: one dim dome in the middle of the ceiling that leaves both ends of the corridor in shadow. It is a shame, because the hallway is the room every other room depends on. You pass through it a dozen times a day, guests read it as the spine of your home, and a well-chosen hallway light fixture plan can turn it from a tunnel you endure into a gallery you enjoy.
Hallways are also genuinely tricky to light. They are long and narrow, often windowless, usually have standard eight-foot ceilings, and need light that is bright enough for safety but never harsh. One fixture almost never solves all of that, which is why this guide treats hallway lighting as a small system rather than a single purchase.
You will learn the three layers that make corridors feel bright and even, how to space and size fixtures with simple rules of thumb, and which styles suit low ceilings, long runs, and grand entryways. By the end, you will be able to measure your own hallway and know exactly what to buy.
Why Hallway Lighting Deserves a Plan
Hallways fail in predictable ways. A single central fixture creates a bright pool in the middle and gloom at both ends, exactly where doors, stairs, and trip hazards live. Fixtures chosen without a scale check look lost on a long ceiling or crowd a short one. And hallway light is usually the last place anyone considers bulb temperature, so corridors end up with a patchwork of warm and cool bulbs that makes the whole house feel unsettled.
A plan fixes all three problems at once. Planning means deciding how many light points the corridor needs, what type each point should be, and one bulb specification for all of them. It takes an extra twenty minutes before you shop, and it is the difference between a hallway that merely has lights and one that is actually lit.
There is also a design dividend. A rhythmic series of matching fixtures is one of the strongest architectural statements a home can make. Repeat a handsome flush mount or a line of sconces down a corridor and the hallway suddenly reads as intentional, even elegant, without a single other change.
Lighting in Hallway: The Three Layers That Matter
Good lighting in hallway design borrows the same three-layer logic used in living rooms. Ambient light is the base: ceiling fixtures that wash the corridor evenly so there are no dark stretches. Accent light adds the rhythm and style, usually sconces or picture lights that give the walls life. Task light is the specialist: a brighter source where you actually do something, like the entry console where you sort mail or the mirror where you check your coat.
Most hallways need the first layer plus one of the others. A short hallway may only need two good flush mounts and call it done. A long one benefits from ambient fixtures plus sconces between doorways, which break the tunnel effect and give your eyes a pleasant beat as you walk.
Think of lamps the same way you would in a living room; our living room lamp ideas guide covers the layering logic in depth, and it translates directly to corridors. The hallway version is simply narrower, more repetitive, and more dependent on fixtures that hug the ceiling or wall because there is no room for floor lamps in the traffic path.
One more principle: overlap the pools of light. Fixtures spaced so their light just meets create an even corridor. Fixtures spaced too far apart create the dreaded runway of bright spots and dark gaps that makes hallways feel like motels.
Flush Mounts and Semi-Flush Fixtures
The flush mount is the hallway’s default for good reason: it hugs the ceiling, preserves headroom, and spreads light in every direction. On a standard eight-foot ceiling, flush mounts are often the only ceiling fixture type that keeps comfortable clearance, since building guidance generally wants roughly seven feet of clear headroom in a walkway. If your current hallway has the classic frosted dome, upgrading its style is the single cheapest transformation in this guide.
Modern flush mounts come in every style family: linen drum shades for soft, traditional light; metal and glass for modern homes; wood-accented designs for organic and Scandinavian schemes. Choose the diameter for the space it serves. A small fixture around 12 to 13 inches suits a short hall section, while longer runs and wider corridors can carry 15- to 18-inch fixtures without looking oversized.
Semi-flush fixtures drop a few inches from the ceiling on a short stem, gaining a more decorative silhouette and often better sideways light spread. They suit nine-foot ceilings and entryways where you want a little ceremony. Just measure the total drop against your tallest household member plus a raised arm’s worth of caution near door swings.
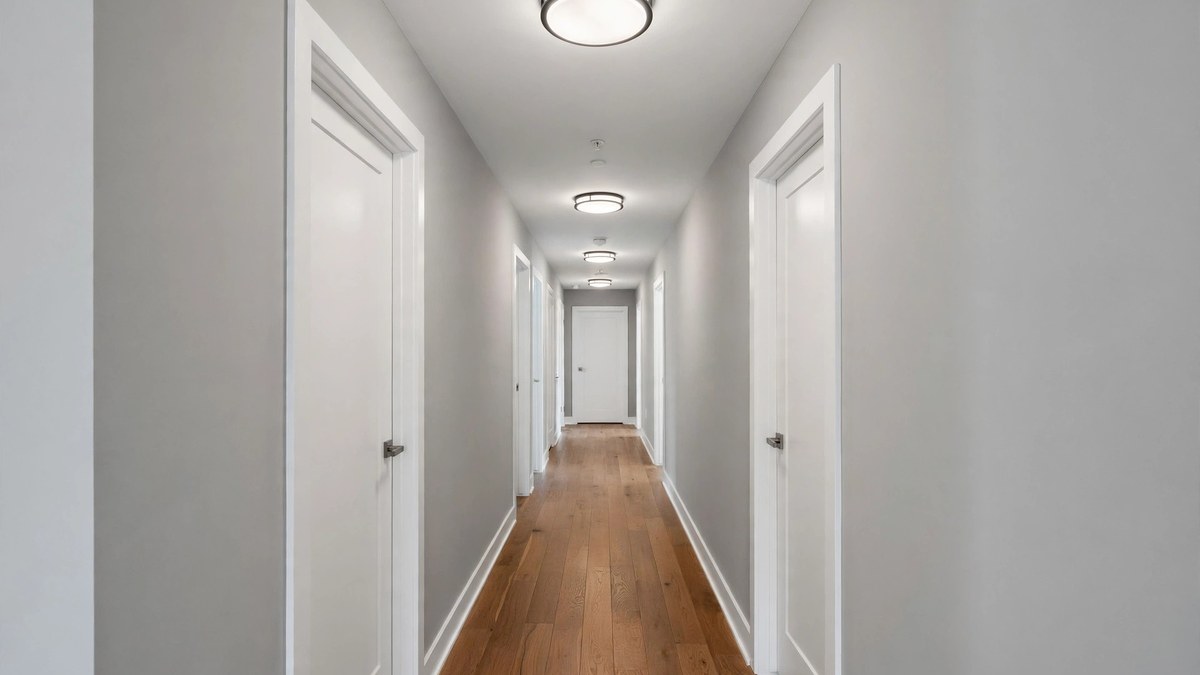
For even light, plan on a flush or semi-flush fixture roughly every 8 to 10 feet along a long hallway, adjusted for bulb brightness. Two modest fixtures almost always beat one powerful one, because the goal is evenness, not intensity.
Pendant Lights for Taller Hallway Ceilings
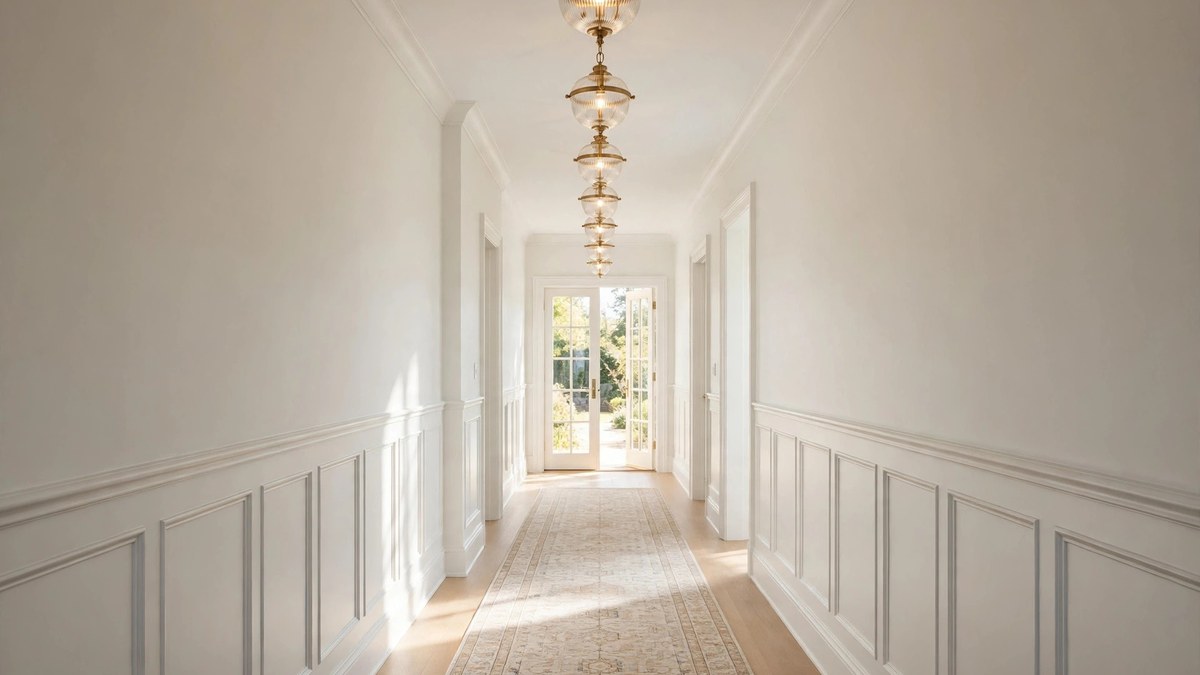
Where ceiling height allows, a run of pendants turns a hallway into architecture. Pendants need headroom: the bottom of the fixture should stay around seven feet or more above the floor in a walkway, which realistically means ceilings of nine feet and up once the fixture’s own height is counted. In two-story foyers and tall corridors, pendants can hang lower over a console or at a stair landing, where nobody walks beneath them.
A row of two or three identical pendants, evenly spaced, gives a hallway rhythm and a sense of procession that flush mounts cannot. Keep the pendants modest in diameter — oversized pendants in a narrow corridor feel like obstacles — and repeat the finish used elsewhere in the house so the hallway joins the home’s material story.
Pendants also solve a specific problem: the long hallway with a high ceiling where flush mounts leave the upper volume black at night. Hanging the light source down into the room’s lived zone makes the corridor feel furnished rather than cavernous, and glass or open pendants keep the look light.
Wall Sconces for Long Corridors
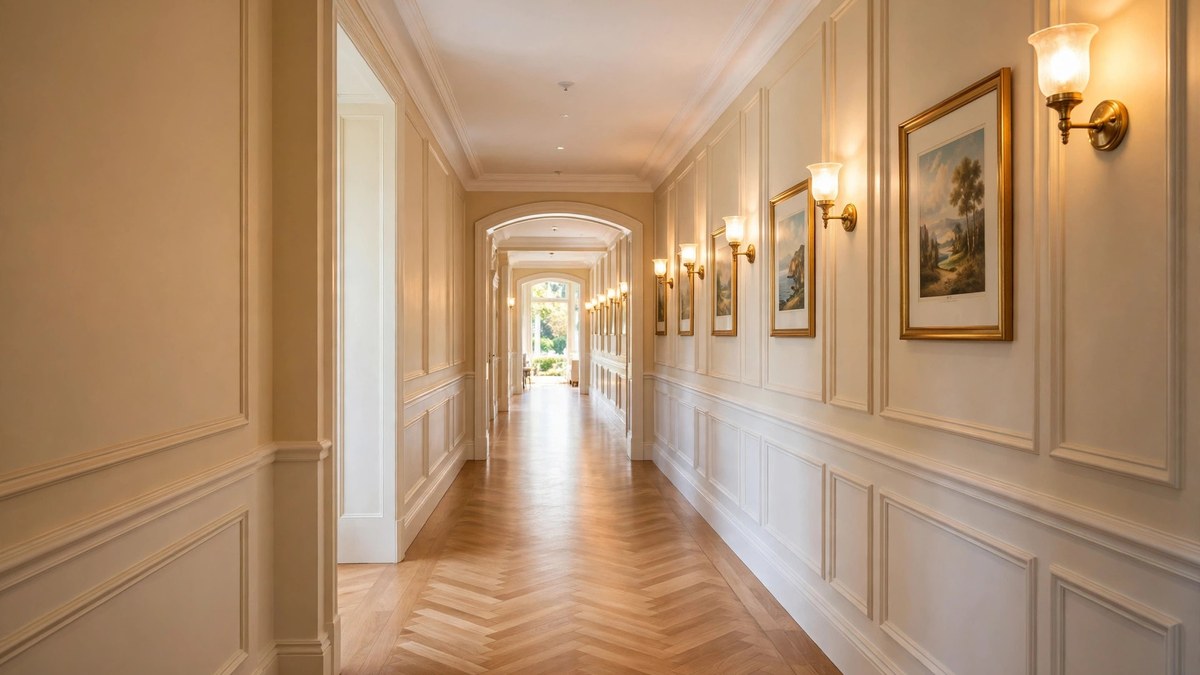
Sconces are the long hallway’s best friend. Mounted on the wall, they consume zero ceiling height and zero floor space, they bring light down to face level where it is most flattering, and their repetition creates the gallery rhythm that makes corridors feel designed. In hallways too narrow for ceiling fixtures to look right, sconces can carry the whole lighting plan.
Height and spacing are the craft. Sconces typically mount with their light source around 60 to 66 inches from the floor, roughly eye level, so the light feels human rather than institutional. Space them roughly every 6 to 8 feet along a long wall, or place them between doorways so each door gets a pool of light. On very long runs, staggering sconces on alternating walls can feel more residential than a strict single-file line.
Shielding matters. In a narrow hallway you walk close to the fixtures, so choose sconces whose bulbs are shaded, diffused, or directed up or down the wall rather than exposed at eye level. Bare-bulb sconces look wonderful in photos and glare mercilessly in a four-foot-wide corridor.
Sconces also pair well with the rest of the house. Their shapes and finishes echo the statement lighting used in main rooms — the same thinking behind our over dining table lighting ideas — so the hallway can quote the dining room’s brass or the kitchen’s black metal without copying it exactly.
How Many Fixtures Do You Need? Spacing and Sizing Rules
Rules of thumb exist because they work. For ceiling fixtures in a hallway, start with one fixture for every 8 to 10 feet of length, then adjust: brighter bulbs or wider-spreading fixtures can stretch toward the longer spacing, while dimmer or decorative fixtures need the shorter one. A 20-foot hallway usually lands on three ceiling fixtures, or two fixtures plus sconces.
Brightness targets help too. Hallways are circulation, not workspaces, so they need less light than kitchens: something in the range of roughly 10 to 20 lumens per square foot is a common planning target, delivered evenly. A 40-square-foot hallway section therefore wants about 400 to 800 lumens nearby, which a couple of standard LED bulbs can provide. What matters most is avoiding one 2,000-lumen blast in the middle.
Width changes the math. In a wide hallway or gallery, treat each fixture’s job as lighting a zone rather than the whole width, and consider pairs of smaller fixtures or a linear arrangement. In a narrow one under four feet, smaller-diameter fixtures and sconces keep proportions right.
When in doubt, mock it up. Tape paper outlines of fixture diameters on the ceiling, or hold the boxed fixture up before wiring. Hallways punish guesswork because you see the fixtures in a forced perspective row; a size that looks fine alone can look repetitive or skimpy in a line of three.
Brightness, Bulbs, and Color Temperature
Whatever fixture types you mix, one decision must stay unified: the bulbs. Choose one color temperature for the entire hallway, and ideally match it to the rooms the hallway connects. Most homes are happiest around 2700K to 3000K, warm and flattering. If your adjoining rooms are lit cooler, meet them partway rather than letting the hallway become a warm island between cool rooms, or the opposite.
Consistency is also why dimming deserves thought. Hallways benefit enormously from a dimmer or a two-level scheme: full brightness for cleaning and finding things, low warmth in the evening so trips down the hall do not feel like entering a stadium. Smart bulbs or a simple dimmer switch both work; the dimmer is cheaper and never needs an app.
Pay attention to bulb quality as well. High-CRI bulbs (90 or above) render paint colors, art, and skin tones more accurately, which matters in the corridor where your mirrors and artwork live. And buy spares of the exact bulb you choose. Matching a discontinued bulb’s color two years later is harder than it should be.
Finally, consider the fixture itself as a light fixture system: shade material shapes the light as much as the bulb does. Frosted glass and fabric diffuse and soften; clear glass and open metal spread light further but expose the bulb. In hallways, where fixtures sit close to your eyes, diffusion is usually worth more than raw reach.
Fixtures for Low Ceilings and Narrow Halls
Low ceilings are the hallway norm, so this section is for most readers. The rules simplify: flush mounts are your ceiling fixture, chosen as wide and flat as the space allows so light spreads sideways instead of pooling below. Slim LED flush mounts have become excellent for this, delivering wide, even light from a profile of just a few inches.
In narrow halls, think vertically. Sconces that throw light up and down the wall make the corridor feel taller and wider than it is, because the eye reads the lit wall planes as space. Picture lights over a series of frames achieve the same width illusion while adding the gallery effect.
For very tight spaces, look at the ceiling-lighting tricks bathrooms use for small footprints — our bathroom ceiling lights ideas include compact recessed and flush options that translate directly to small hallways and landings. Recessed cans are the other honest option in low, narrow halls: they disappear entirely, though they need the spacing discipline of the previous sections to avoid the airport-runway look.
Entryway and Foyer Fixtures
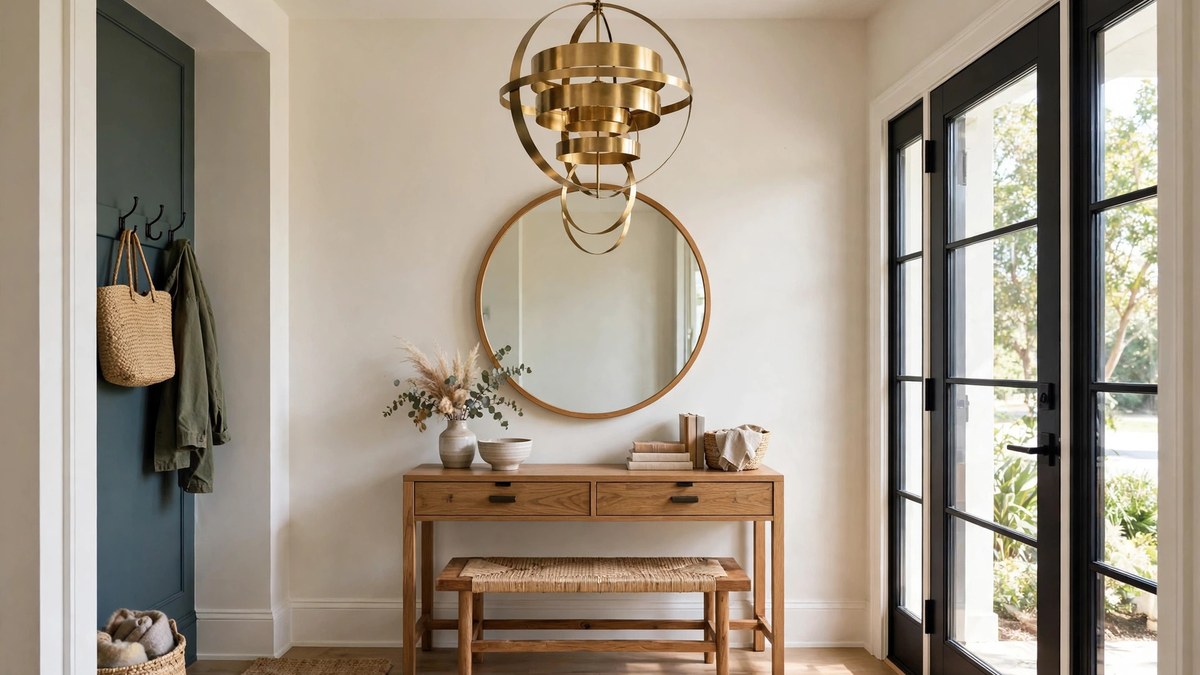
The entryway is the hallway’s dressed-up sibling: part corridor, part first impression. Here a single statement fixture is often the right call, because the space is wider, the ceiling frequently higher, and the goal shifts from even circulation light to welcome. A semi-flush with presence, a compact chandelier, or a handsome lantern pendant can carry the whole entry if the surrounding spaces supply their own light.
Scale the fixture to the room, not the door. A common sizing shortcut adds the room’s length and width in feet and treats that number as the fixture’s diameter in inches: a 10-by-12-foot foyer suggests a fixture of roughly 22 inches. It is a rough guide, not a law, but it prevents the two classic errors: the lost little dome and the chandelier that swallows the entry.
Keep the entry fixture’s finish in conversation with the door hardware and any stair railing. Entries are small, so two metals are plenty. And remember the view from outside: through a glass panel or sidelights, your entry fixture is the lit face your home shows the street at night.
Matching Fixtures to Your Home’s Style
Hallway fixtures do not need to match the rest of the house exactly, but they should share a language. The easiest unifiers are finish and one design detail. If the kitchen pendants are matte black with clear glass, hallway flush mounts in matte black with frosted glass will read as family. If the dining room glows brass, let the hallway sconces be brass too.
Style families translate simply. Traditional homes suit lantern shapes, aged brass, and fabric shades. Modern homes suit geometric metal, opal glass globes, and clean discs. Farmhouse and organic styles suit wood accents, rattan, and black metal. Transitional homes, the majority, can borrow from either side as long as the finish story stays consistent.
When the hallway connects rooms with different moods, let it be the neutral translator: the simplest fixture in the shared finish. The hallway’s job is connection, and a quiet, well-proportioned fixture makes every room it touches feel more deliberate.
Installation and Safety Tips
Hallway lighting projects are usually straightforward, but a few professional habits separate a clean result from a wobbly one. Kill the power at the breaker and verify with a tester before touching any wiring; hallway circuits are often shared with rooms you are not thinking about. If your home lacks a ceiling junction box where you want a fixture, that is an electrician’s job, not a YouTube stretch goal, and many jurisdictions require it to be.
Mind the clearances. Hanging fixtures in walkways should keep roughly seven feet of head clearance, and sconces should sit where shoulders and moving furniture will not clip them; in narrow halls, low-profile sconces are safer than deep-projecting ones. Near stairs, never place a fixture where reaching a bulb requires standing on a step with a ladder — choose long-life LEDs there and save yourself the acrobatics.
If you are adding multiple new fixtures or a dimmer to an older home, a single electrician visit can rough in the whole corridor at once, which is far cheaper per fixture than separate trips. Save the plan, the bulb spec, and the paint color of the ceiling in the same note; future-you will be grateful at the first bulb change.
Mistakes to Avoid
The most common hallway mistake is the single central fixture, bravely trying to light twenty feet of corridor and failing at both ends. Add points of light until the pools overlap; evenness beats brightness every time.
Second is mismatched bulbs. A warm bulb in one fixture and a daylight bulb in the next makes the hallway feel like it belongs to two houses. Buy all the bulbs together, keep spares, and replace in matched sets when color starts to drift.
Third is scale by eyeball. Fixtures that look right in a showroom’s high ceiling shrink or loom at home. Use the spacing and sizing rules, tape outlines on the ceiling, and walk the corridor looking at them from both ends before committing.
Finally, do not light a hallway like a workspace. Blasting a corridor with kitchen-level brightness flattens it and makes adjoining rooms feel dim by comparison. Aim for welcoming, even, warm light you can dim in the evening.
Frequently Asked Questions
How many light fixtures does a hallway need?
As a rule of thumb, plan one ceiling fixture for every 8 to 10 feet of hallway length, or sconces every 6 to 8 feet, then adjust for bulb brightness. A typical 12-foot hallway usually works well with two ceiling fixtures, while a 20-foot run usually needs three, or two plus sconces to fill the middle.
How high should hallway sconces be mounted?
Most sconces look and perform best with the light source around 60 to 66 inches above the floor, roughly eye level. In hallways with very high ceilings you can go slightly higher, but avoid mounting so high that the light feels institutional or so low that bulbs glare at eye level as you pass.
What color temperature is best for hallway lighting?
Most homes are happiest between 2700K and 3000K, which is warm, flattering, and consistent with typical living spaces. The critical rule is consistency: match the temperature across all hallway fixtures and keep it close to the rooms the hallway connects, so walking through the house feels seamless.
Can I use pendant lights in a hallway?
Yes, when the ceiling is high enough to keep the bottom of the fixture around seven feet or more above the floor — realistically ceilings of nine feet and up. A row of two or three modest pendants creates a beautiful rhythm in tall hallways and foyers. On standard eight-foot ceilings, flush and semi-flush fixtures are the safer choice.
How bright should hallway lighting be?
Hallways are circulation spaces, so they need less light than task rooms. A common planning target is roughly 10 to 20 lumens per square foot, delivered evenly from multiple points rather than blasted from one. If you install a dimmer, you can run brighter for cleaning and lower for evenings.
Should hallway fixtures match the rest of the house?
They should coordinate rather than match exactly. Sharing a finish and one design detail with the main rooms’ fixtures is enough to make the hallway feel connected. Because hallways are transitional, slightly simpler versions of the home’s main fixture style usually look best.
What is the best fixture type for a low hallway ceiling?
A wide, slim flush mount is the reliable answer, because it preserves headroom and spreads light sideways. LED flush mounts with diffusers give especially even light in a very shallow profile. Pair them with wall sconces if the corridor is also long, and avoid any hanging fixture that eats into the walkway’s clearance.
Conclusion
A great hallway light fixture plan is really three small decisions: enough points of light, evenly spaced; fixtures sized and styled for the corridor you actually have; and one consistent, warm bulb specification across all of them. None of it is expensive, and all of it shows every single day.
Measure your hallway, sketch the fixture points, and upgrade the worst offender first if you are phasing the work. Even one well-chosen fixture, correctly placed, will tell you how good the whole corridor can feel — and it will make the rest of the plan easy to finish.
