
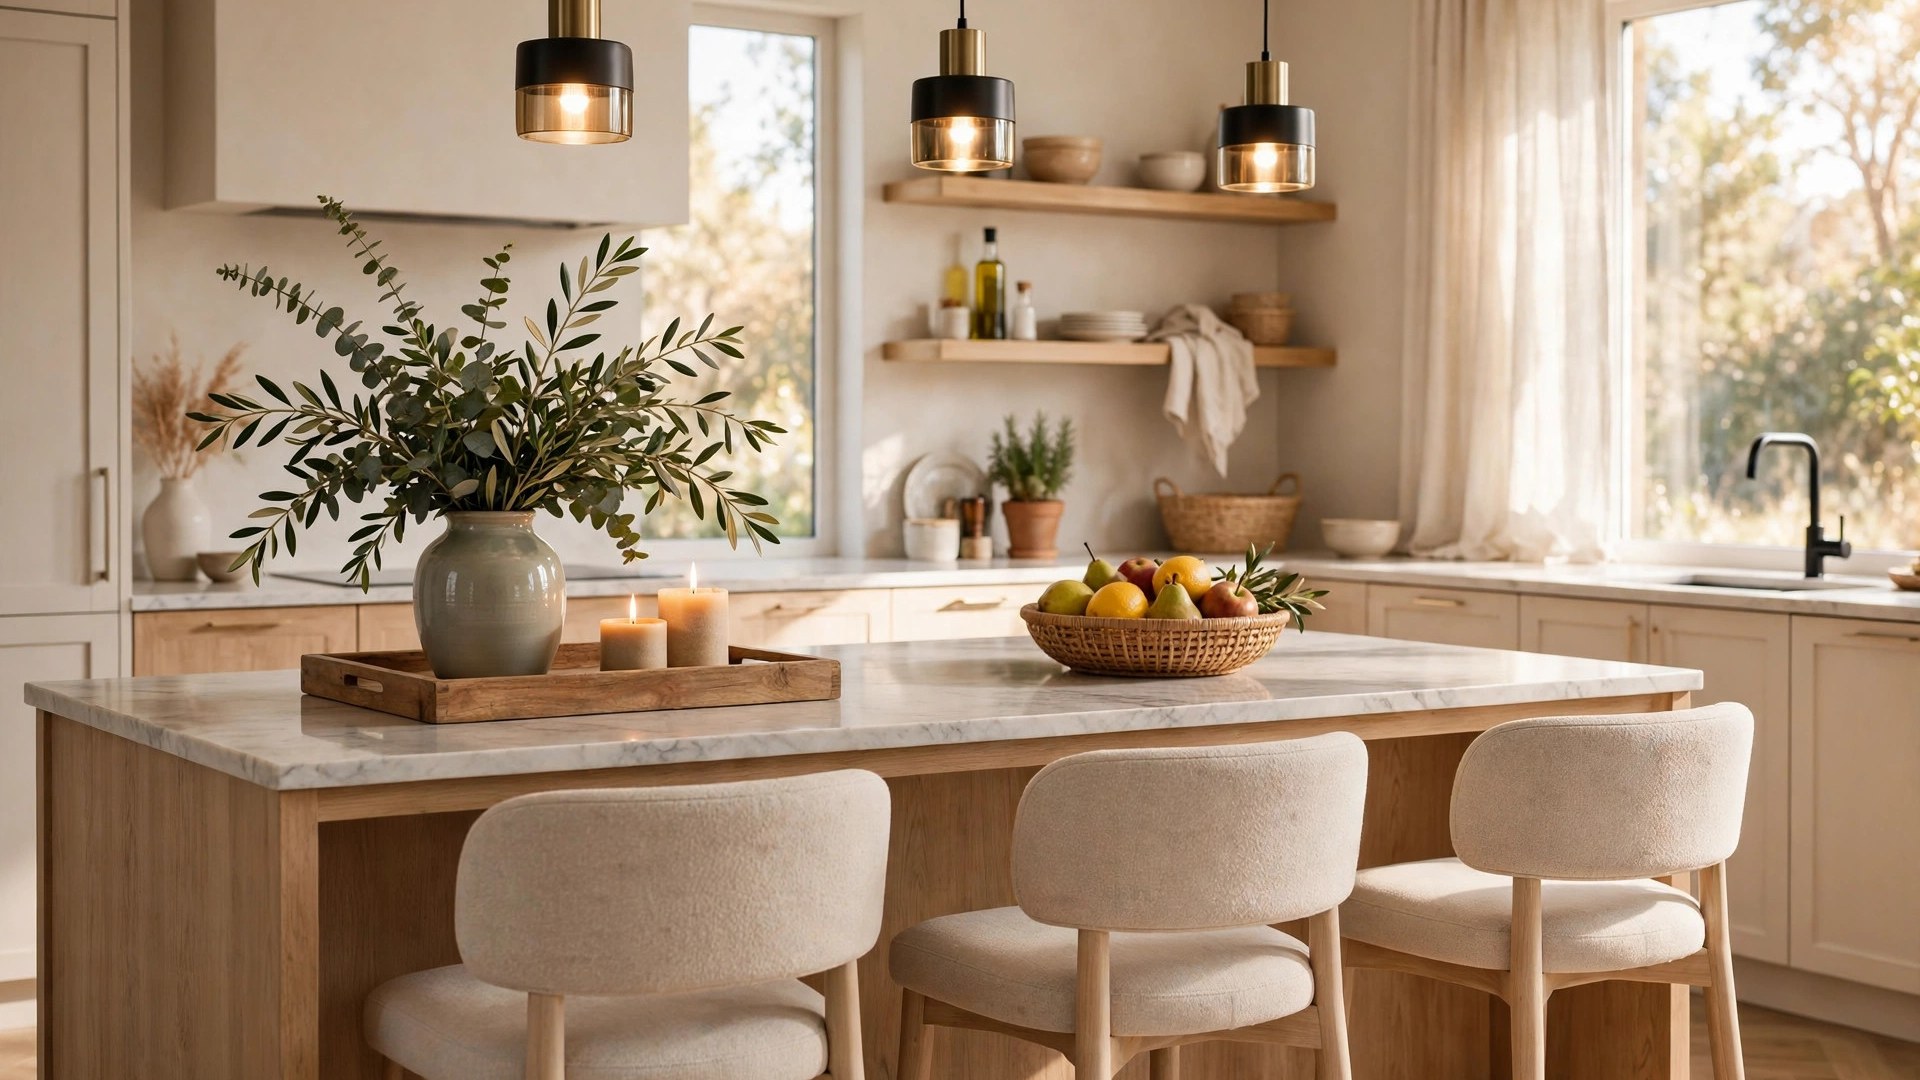

The island is where the kitchen performs. It is the prep station at six, the homework desk at four, the buffet at parties, and the place every guest leans against with a glass in hand. That is why kitchen island decor ideas are really about balance: the island must look like the room’s centerpiece and still clear for action in under a minute. Style it as pure decoration and the cook will revolt; leave it bare and the largest surface in the kitchen looks like an airport runway.
This guide treats the island the way designers do, as a working surface with a styling layer on top that can be swept aside in seconds. You will find the centerpiece formula, the seating measurements that make stools actually comfortable, pendant lighting rules, styling for the island’s sides and ends, and seasonal swaps that keep the look fresh all year. Almost everything here applies to the island you already own, at the cost of a tray and fifteen minutes.
Decor vs. Design: Styling the Island You Already Have
It helps to separate two conversations. The design of a kitchen island, its size, height, storage, and placement, is largely fixed once it is built, and our guide to kitchen island ideas and modern designs covers that planning in depth. The decor is the changeable layer: what lives on the counter, what hangs above it, what the seating looks like, and what the island’s faces show the room. That layer is yours to restyle any weekend.
The working rule for that layer is the sixty-second test: everything decorative on the island should be movable in under a minute, ideally on one tray or in one basket, because the island’s day job can summon the full counter at any time. Decor that passes the test can be as lush as you like. Decor that fails it becomes the cook’s enemy, and the cook always wins eventually.
Also respect the island’s sight lines. It sits at the room’s center, seen from every doorway and from the seating side at eye level of a seated person. Style it in the round: the view from the stools, the view from the stove, and the view from the door should each be composed, which usually means one central arrangement rather than a scattered skyline of objects.
Kitchen Island Decoration Ideas for the Countertop
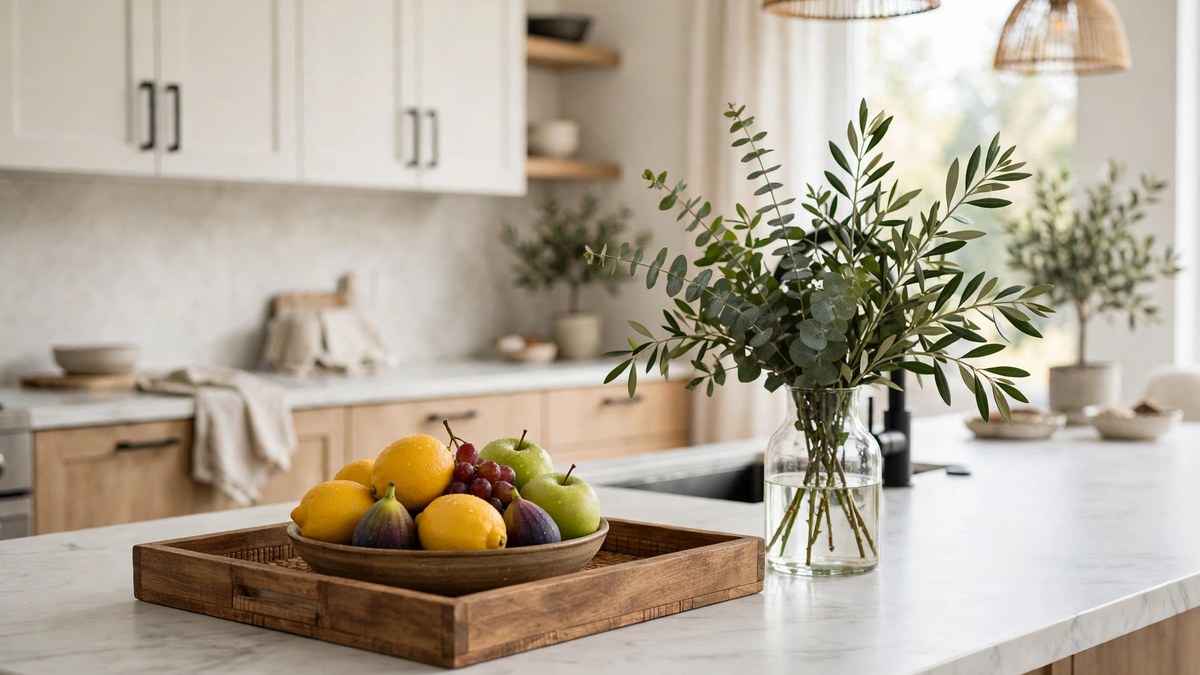
The countertop is the main stage, and the most reliable kitchen island decoration ideas organize it into zones rather than covering it. A typical island has three natural territories: the work end near the stove and sink, the middle, and the seating end. Decorate the middle and, lightly, the far end. Keep the work end clear to the edge, because that is where hot pans land and dough gets rolled.
On the decorated zones, think in functions wearing costumes. A beautiful bowl that actually holds the week’s fruit. A crock of wooden spoons beside a small potted herb. A cookbook on a stand, open to something seasonal, which is decor that also recruits dinner ideas. These working decorations beat purely ornamental ones on an island because they justify their footprint every day, not just in photographs.
Keep a clear landing strip sacred: roughly 15 inches of depth beside the cooktop and sink areas is the standard landing allowance cooks rely on for hot dishes and groceries, and it should stay empty even when guests are coming and the island is dressed for company. The discipline of the empty strip is what separates a styled island from a staged one, and the household’s cook will defend your decorating privileges because of it.
The Centerpiece Formula: Height, Layers, and a Tray
Every successful island centerpiece follows the same formula: an anchor, height in the middle, layers of texture, and a tray or board underneath that makes it one movable object. Start with the tray: a wooden board, a woven tray, or a marble slab sized to the island’s middle third. It defines the arrangement’s territory and delivers the sixty-second move when cooking calls.
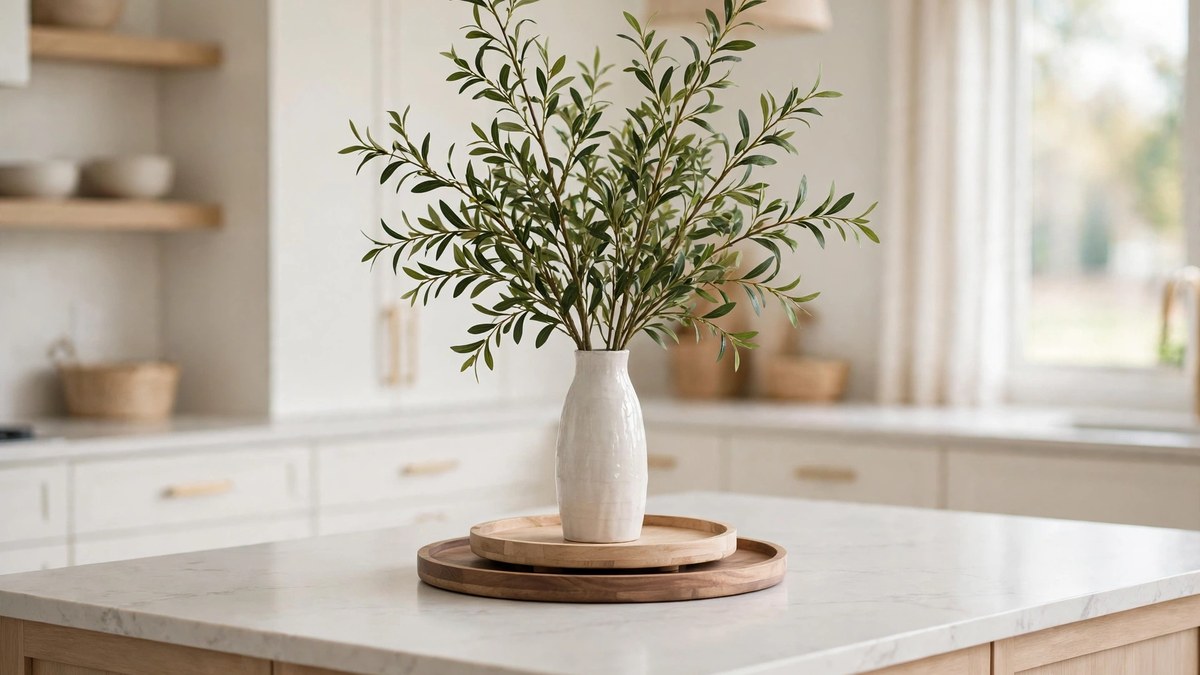
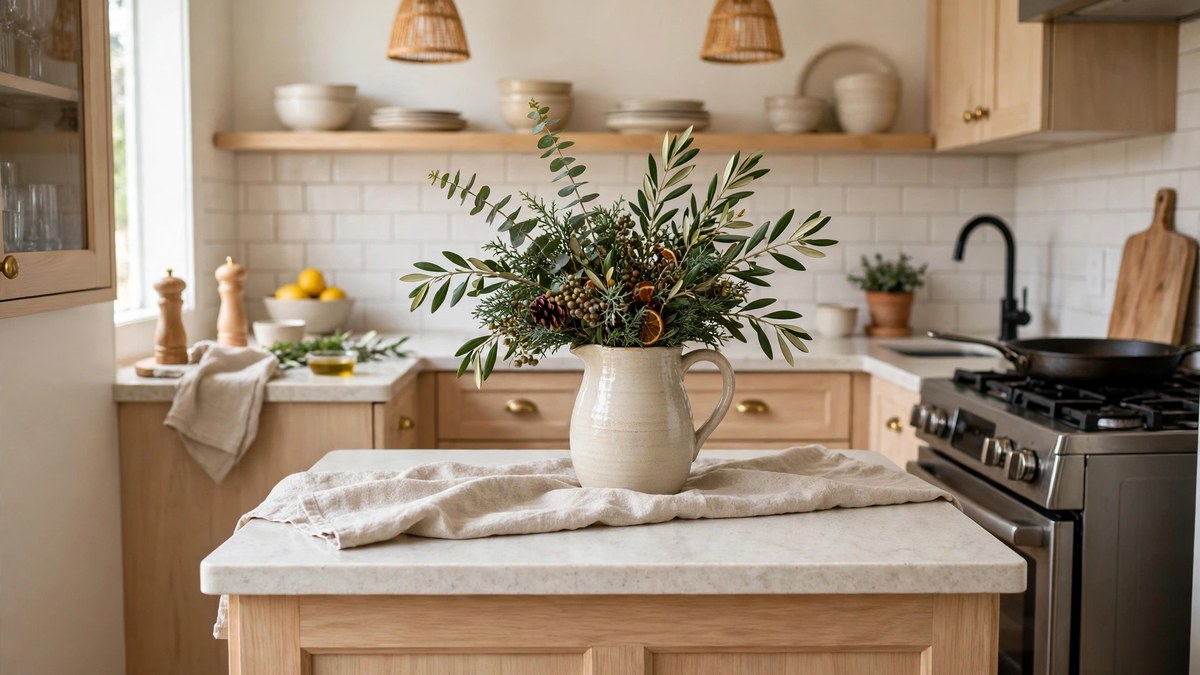
On the tray, build a triangle of heights. Something tall: a vase with branches, a hurricane lantern, or a small stack of cookbooks with a plant on top, typically reaching 18 to 30 inches, which is safe because it stands in the island’s center, out of the sight lines between seated guests and the cook. Something medium: a bowl, a candle cluster, a ceramic piece. Something low and spreading: a garland, a linen runner tail, scattered fruit or a low plant. Odd numbers and varied materials keep it alive.
Scale the arrangement to the island. A long island, 8 feet or more, can carry a longer composition: the tray plus a second, smaller grouping, or one extended low arrangement. A standard island of 4 to 6 feet wants one compact grouping, centered on the seating side’s view. When in doubt, go slightly larger than feels safe; undersized centerpieces on big islands are the most common styling miss, reading as clutter instead of composition.
Kitchen Island Decorating With Seating That Works
The seating side is where kitchen island decorating meets ergonomics, and the measurements decide whether guests linger or perch. The National Kitchen and Bath Association’s guidelines give clear knee depths by counter height: about 18 inches of clear knee space at a 30-inch table-height counter, 15 inches at the standard 36-inch counter height, and 12 inches at a 42-inch bar height. Each seat also needs about 24 inches of width along the counter, so a 6-foot seating run honestly fits three people, not four.
Stools are the island’s most visible furniture, so choose them like it. Backless stools tuck fully under the overhang and keep the island’s line clean, which suits small kitchens and a minimalist look. Low-back stools are the family compromise, giving real support while preserving sight lines. Full counter chairs with arms suit long, leisurely seating but eat width; budget 26 to 28 inches per seat if arms are involved. Match the stool’s finish to the island’s story: the same wood tone for calm, a contrasting metal or color for a deliberate accent.
Then style the seating zone itself. A cushion or pad on each stool in the kitchen’s accent fabric, a pendant glow above, and a clear view of the centerpiece make the seats feel like a destination. Keep the floor beneath the stools in the plan too; a washable runner along the seating side catches the crumbs and drips that island life guarantees, and adds the textile layer islands otherwise lack.
Pendant Lighting: The Jewelry Above the Island
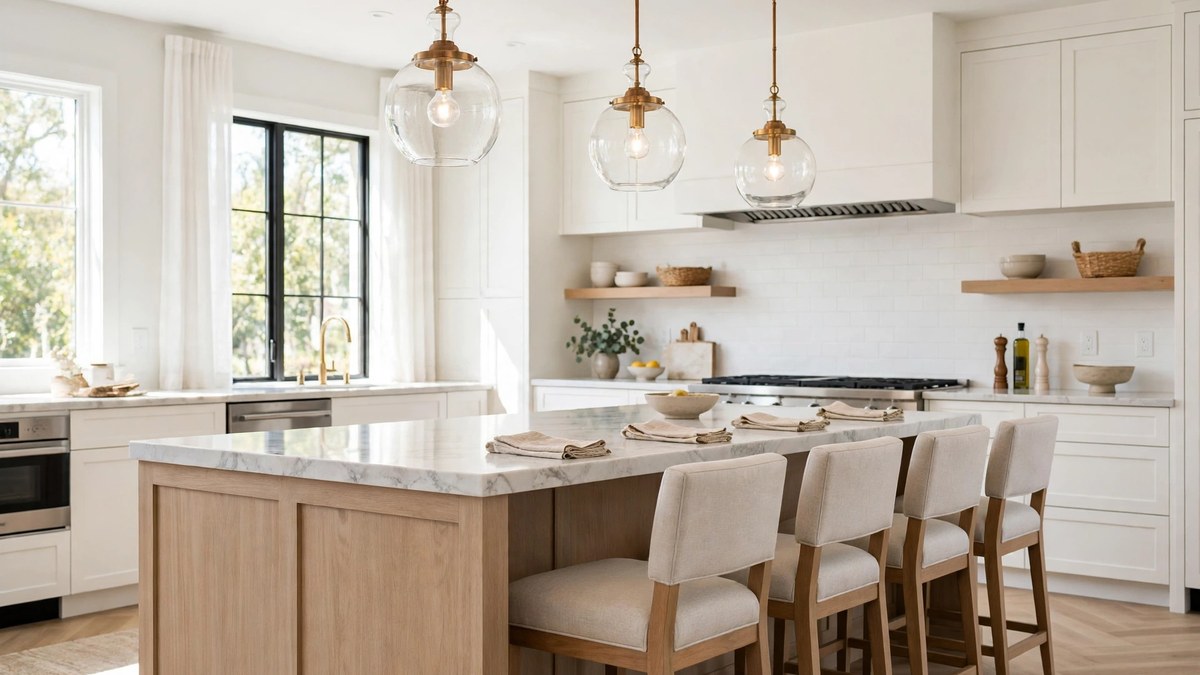
Pendants do for the island what earrings do for an outfit: they finish it and draw the eye. The standard arrangement is two or three pendants over the island’s length, hung so their bottoms sit about 30 to 36 inches above the countertop, high enough to clear sight lines and tall centerpieces, low enough to feel connected to the surface they light. Over a long island, three smaller pendants usually beat two large ones for even light and rhythm.
Size them by proportion. A reliable starting point is that the combined visual width of the pendants should span roughly one-half to two-thirds of the island’s length, spaced evenly with the outer pendants inset from the island’s ends. Single islands too small for multiples take one statement pendant or a linear fixture; the rule is presence, not count.
One more lighting duty hides in the island itself. If the island holds the sink or the main prep zone, add task light that actually reaches the work: pendants give ambient sparkle, but under-cabinet strips, a well-aimed recessed light, or pendants with directed shades keep the chopping surface out of shadow. Hands working in their own shadow is the quiet flaw in many beautiful kitchens, and the fix costs little if it is planned with the pendants rather than after them.
Pendants are also the island’s best color and material accent. In an all-white kitchen, blackened metal, aged brass, or a saturated ceramic shade above the island gives the whole room its focal note, repeated quietly in the cabinet hardware or stool finish. Put them on a dimmer, because island light works three shifts: bright for prep, medium for dinner, low for the evening glass of wine, and one fixture should serve all three moods. For more fixture thinking across the kitchen, our recommended kitchen lighting guide compares the layers.
Style the Sides: What Goes on the Island’s Faces and Ends
An island has four faces, and most kitchens style only the top. The seating face is seen at close range by everyone who sits there; give it intention with the paneling, paint color, or material you chose, kept clean of scuffs with a washable finish, since shoes will find it. Shiplap, board-and-batten, tile, or a contrasting paint color on this face is one of the highest-value island upgrades there is, because it is the view from every seat.
The ends are narrow but mighty. An end with open shelving becomes the cookbook library or the pretty-bowl display, styled tight and edited hard. An end with a towel bar turns a daily necessity into a styled moment: the kitchen’s best linen, changed with the seasons. A plain end is the right home for the charging drawer everyone needs, or for hooks holding the market bag and the apron that actually gets worn.
Do not forget the work face, the side facing the stove and sink. It wants storage that matches the workflow: deep drawers for pots, a pull-out for trash and recycling at the prep zone, the knife and utensil storage where hands expect them. When the work face is organized, the counter above it stays clear, which is to say the decorating on the island succeeds because the design underneath it does.
Seasonal and Everyday Swaps
The island is the fastest seasonal refresh in the house because its decor is already concentrated in one movable arrangement. Build a small rotation: spring brings a vase of branches or tulips and a linen runner in a pale tone; summer wants a big bowl of citrus, woven textures, and the cookbooks swapped for grilling and salads. Autumn leans into a wooden board layered with small pumpkins or pears, amber glass, and candles in spice tones. Winter carries the greenery: a low garland along the tray, pillar candles, and the fruit bowl traded for pomegranates and nuts in the shell.
Hosting has its own swap protocol. For a party, the centerpiece shrinks or leaves entirely, and the island becomes the buffet: a drink station at one end with an ice bucket and glassware, food in the middle at serving height, and the decor condensed to one end where it frames the spread instead of competing with it. Plan this version once, with the same intention as the everyday one, and write down where things go; the second party will set itself up in ten minutes because the first one was designed.
Everyday swaps matter as much. The centerpiece that delights in January photography can tire by March; changing one element, the vase filler, the runner, the bowl’s contents, restyles the whole composition for almost no money. Keep a small box of island candidates in a cabinet: two runners, a few vases and bowls, candle sets. A five-minute swap on a Saturday morning makes the kitchen feel newly decorated, and guests will ask what you changed.
Anchor every version to the room’s constant: the pendants, the stools, the island’s own material. When the fixed layer is calm and consistent, the rotating layer can be as playful as the season suggests. This is the same logic that governs mantel styling, and it is why some kitchens always look current: their owners change the small things on purpose, often.
Small Islands and Peninsula Styling
Small islands and peninsulas obey the same rules at a stricter scale. The centerpiece shrinks to one object group on a small tray, or even a single beautiful bowl, because the sixty-second rule matters most where counter space is scarcest. Choose taller, narrower elements over wide ones: a slender vase of branches gives the height and presence without eating the work surface.
Peninsulas, attached on one end, style like islands with one advantage: the wall end can carry a taller arrangement or a mounted shelf that a freestanding island cannot. Use that end for the visual anchor and keep the open end, the traffic end, absolutely clear. Seating on a peninsula usually fits two stools honestly; resist the third, because crowded knees make the whole kitchen feel smaller.
In genuinely small kitchens, the island’s decor budget is better spent on the fixed layer: handsome stools, good pendants, a beautiful board that lives on the counter as the utensil crock’s neighbor. When the everyday objects are beautiful, the island needs no decoration at all, which is the smallest kitchens’ styling secret and really everyone’s.
Color and Material Stories: Matching the Island to the Kitchen
The island is the kitchen’s biggest color decision after the cabinets, and its decor should complete a story rather than start a new one. The classic stories are few. Matching: the island repeats the cabinet color and material, calm and seamless, with decor supplying all the contrast. Contrasting: the island wears a different color or wood, navy or walnut in a white kitchen, and becomes the room’s deliberate focal piece, with the decor keeping quieter so the island itself can speak.
Materials want the same discipline. If the countertop is a veined stone, let it be the pattern of the room and keep decor smooth and solid beside it. If the counters are quiet butcher block or solid quartz, the decor can carry pattern and texture instead: the woven tray, the patterned runner, the ceramic with a handmade irregularity. One hero material per view is the rule; everything else auditions for supporting roles.
Metal finishes tie the story together: pendants, hardware, faucet, and stool details in one primary metal, repeated at least three times in the room so it reads as a decision. Our roundup of modern kitchen ideas shows these island stories at whole-kitchen scale, from seamless white to full-contrast color, if you are choosing a direction before the decor layer. Whatever story you pick, decorate inside it, and the island will look inevitable rather than decorated.
Common Island Decorating Mistakes
The first mistake is the skyline: a dozen unrelated objects of similar height marched along the counter, reading as storage rather than styling. Group into one composition on a tray and the same objects become decor. Second is blocking the landing zones by the sink and stove, which the household cook will correct by moving your arrangement to a corner, permanently.
Third is seating math that ignores knees and widths, stools squeezed four across a three-person run. Fourth is pendants hung at gallery height or sized like thimbles over a grand island; they should relate to the counter below, bottoms roughly 30 to 36 inches above it. Fifth is decorating only the top and leaving the scuffed seating face and blank ends to chance, when those views are the ones your guests actually study.
The last mistake is the permanent centerpiece, beautiful in December and dusty by June. Islands live in real time. Build the arrangement to be moved, swapped, and seasonally refreshed, or it will quietly become the thing everyone works around and nobody sees anymore.
Frequently Asked Questions
How much space do stools need at a kitchen island?
Each seat needs about 24 inches of counter width, and clear knee depth depends on counter height: roughly 18 inches at a 30-inch counter, 15 inches at the standard 36 inches, and 12 inches at a 42-inch bar height. Deep overhangs beyond about 12 inches may need brackets or supports, so check your countertop’s requirements.
What is the best centerpiece for a kitchen island?
A grouped arrangement on a tray or board: one tall element like branches or a lantern, one medium bowl or candle cluster, and one low layer such as a runner or garland. The tray makes it a single movable object, so the island can be cleared for cooking in under a minute.
How high should pendant lights hang over an island?
The bottoms of the pendants should sit about 30 to 36 inches above the countertop for most kitchens. That height clears sight lines between seated guests and the cook, keeps tall centerpieces comfortable, and still feels connected to the surface. Raise them slightly for very tall cooks or ceilings, and always put them on a dimmer.
How do I decorate a small kitchen island?
Use one compact grouping on a small tray, favor tall and narrow elements like a slender vase of branches, and let beautiful everyday objects, the board, the crock, the bowl of fruit, do the decorating. Spend the effort on the fixed layer instead: good stools and good pendants make a small island look styled with nothing on it.
Should my island match my cabinets?
Either story works if it is complete. A matching island reads calm and seamless, so its decor can be bolder. A contrasting island is the room’s focal piece, so its decor should be quieter. The mistake is the accidental middle: an island that almost matches, which reads as a paint error rather than a decision.
What should I keep off the island counter?
Anything that blocks the landing zones by the stove and sink, anything fragile in the traffic path of hot pans, and anything that cannot be moved quickly. Small appliances that live out permanently should earn it by daily use; the rest belong in cabinets or an appliance garage so the island can be a workspace first.
How often should I change my island decor?
Seasonally is the rhythm that keeps it fresh without effort: one swap per quarter, plus tiny changes whenever the fruit bowl or flowers turn over. Because the arrangement sits on a tray, each refresh takes minutes. If a centerpiece has survived two seasons untouched, it has become invisible and is due for a change.
Final Thoughts
A great island is a stage with a trapdoor: beautiful in the scene, cleared in seconds when the work begins. Build one composed centerpiece on a movable tray, get the seating measurements honestly right, hang pendants that finish the picture, and rotate the dressing with the seasons. Do that, and the hardest-working surface in your kitchen becomes its best-looking one too, which is exactly what the center of the room deserves.
